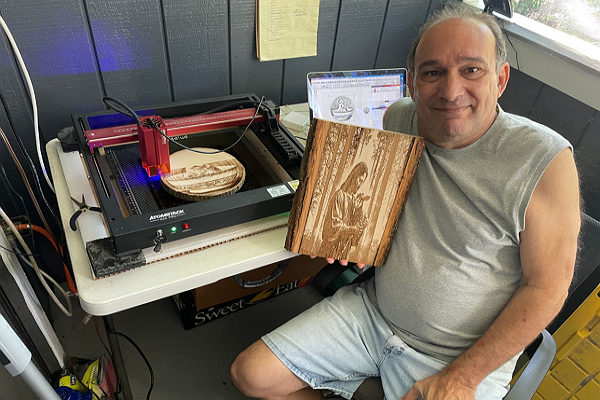
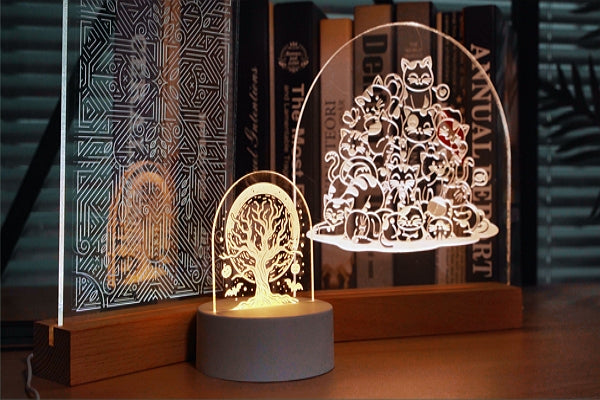
Do you have many crafts but nowhere to store them? A wooden cabinet might be the perfect solution—and you can build it yourself with your laser engraver! Not only will it help you organize your space, but you can also add custom engravings for a unique and personal touch.
Let’s get started on crafting your own beautiful and functional wooden cabinet!

Step 1: Equipment Preparation
- Machine: AtomStack A70 Max Laser Engraver

- Software: laser engraving software like AtomStack Studio or LightBurn
- Materials: polished 20mm plywood, dimensions 800mm x 800mm, 4 pieces
- Paint: acrylic, anti-corrosion oil, paintbrush
- Accessories: 4 hinges, 16 right-angle brackets, 40 corresponding screws, 1 screwdriver.
Step 2: Engraving and Cutting
- Engraving Parameters: 12000mm/min, 30%.

- Cutting Parameters: 300mm/min, 100%.

- File: Download and use the provided design file for an easy and quick start.
Step 3: Coloring
- Paint the carved pieces with the color you like. You can also paint them following the example we've completed.
- Apply anti-corrosion oil.

Step 4: Assembly
- Assemble the wooden boards together with the accessories to form the cabinet.


